Rails開発チームから、5月6日(現地時間)に、Rails5系の最初のリリース候補「Rails 5.0.0 rc1」がリリースされました。
今回は、「Action Cable」を利用して、チャットシステムを作る手順をメモしていきたいと思います。
Rails5では、下記の変更が予定されています。
(参照サイト)
- WebSocketを扱うためのフレームワーク「Action Cable」の追加
- Rails APIモードのコアへのマージ
- bin/rakeのbin/railsへの統合
- Turbolinksの改良
【目 次】
参考にさせていただいたサイト
Rails 5 + ActionCableで作る!シンプルなチャットアプリ(DHH氏のデモ動画より)
上記のサイトは、 Rails 5.0.0.beta1環境での解説を行ってくださっていました。
今回、私が試そうとした時には、最新のRails5が Rails 5.0.0.rc1 になっていたため、いくつか手順が変わっていました。
そこで、開発のコードはそのまま使わせていただいて Rails 5.0.0.rc1 での変更点を押さえながら、構築手順をメモ書きしたいと思います。
rc1からの変更点
大きな変更としては、bata1までは、 Redis が必要でしたが、 bata2 から不要になっています。
rc1 では、 sqlite3 でも MySQL でも動作することを確認しました。
その他にも、チャンネル作成時の生成ファイルや、いくつかの修正が不要になっています。
この後の構築手順で確認しながら進めていきたいと思います。
では早速、チャットアプリの開発を進めていきたいと思います。
(以下 「$」 で始まる行は、コマンドを実行します。 「$」 以降を入力してください。)
プロジェクトのディレクトリ作成
$ mkdir chat_rails5_rc1
$ cd chat_rails5_rc1
現状のバージョン確認
$ ruby -v
ruby 2.2.3p173 (2015-08-18 revision 51636) [x86_64-darwin14]
$ rails -v
Rails 4.2.4
私の環境では、このようなバージョンでした。
Gemfileのテンプレート作成
$ bundle init
Writing new Gemfile to /<任意のパス>/rails5_rc1_chat/Gemfile
Gemfileを編集
source "https://rubygems.org"

gem 'rails', '>= 5.0.0.rc1', '< 5.1'
Railsのプロジェクト生成
$ bundle exec rails new .
       exist
      create  README.md
      create  Rakefile
      create  config.ru
      create  .gitignore
    conflict  Gemfile
Overwrite /Users/kanako/tickle_dev/rails5_rc1_chat/Gemfile? (enter "h" for help) [Ynaqdh]
[Ynaqdh] まで出力がされるので、上書きしてもよいという意味の Y を入力して enter
サーバを起動して確認
$ bundle exec rails s
=> Booting Puma
=> Rails 5.0.0.rc1 application starting in development on http://localhost:3000
=> Run `rails server -h` for more startup options
Puma starting in single mode...
* Version 3.4.0 (ruby 2.2.3-p173), codename: Owl Bowl Brawl
* Min threads: 5, max threads: 5
* Environment: development
* Listening on tcp://localhost:3000
Use Ctrl-C to stop
サーバを起動して確認しておきたいのが、ログに出力されている Booting Puma です。
Rails4.2までは、デフォルトのWebサーバは WEBrick でしたが、
Rails5から、Puma に変更されています。
WEBrick は、シングルスレッドで同時に複数のリクエストを処理することはできません。
対して、 Puma は、リクエストの並列処理が可能とのことです。
予めスレッドを指定した数だけプールしておくことで、複数のスレッドを立ち上げてリクエストを処理することができる違いがあります。
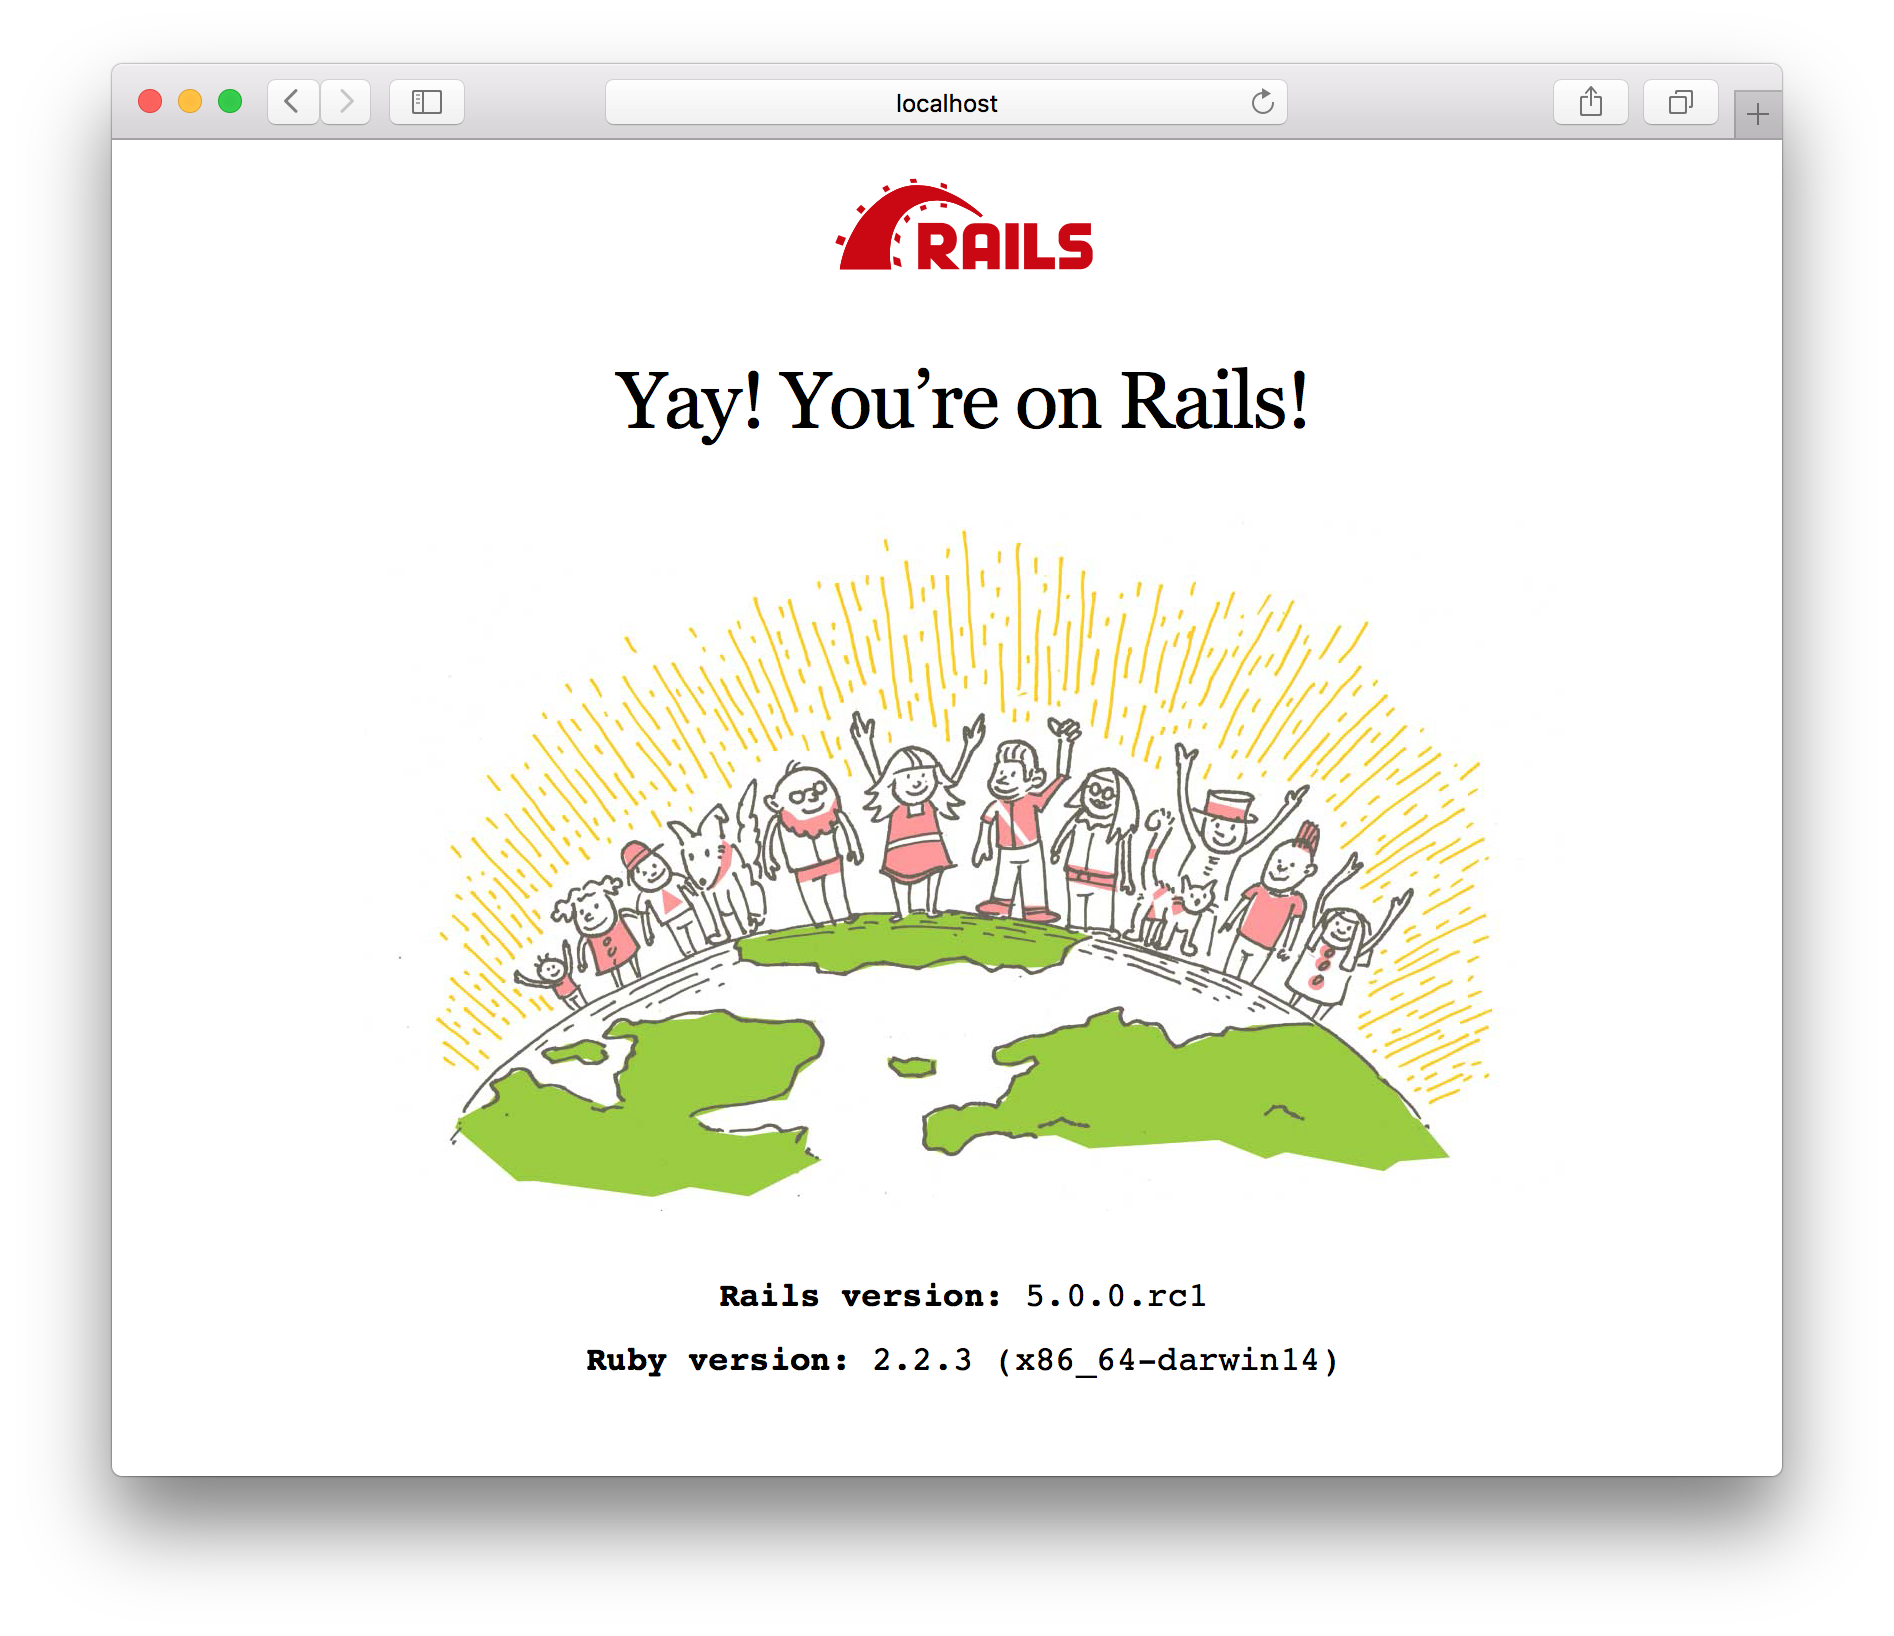
サーバを起動させて、ブラウザから localhost:3000 にアクセスすると上記の画面になれば、Rails5で起動したことになります。
チャットルームを表示させるコントローラーを作成
$ rails g controller rooms show
config/routes.rb を編集
トップページに、これから作るチャットルームのページを表示させるように修正します。
get 'rooms/show'
 ↓
root to: 'rooms#show'
サーバを起動させて確認
$ bundle exec rails s
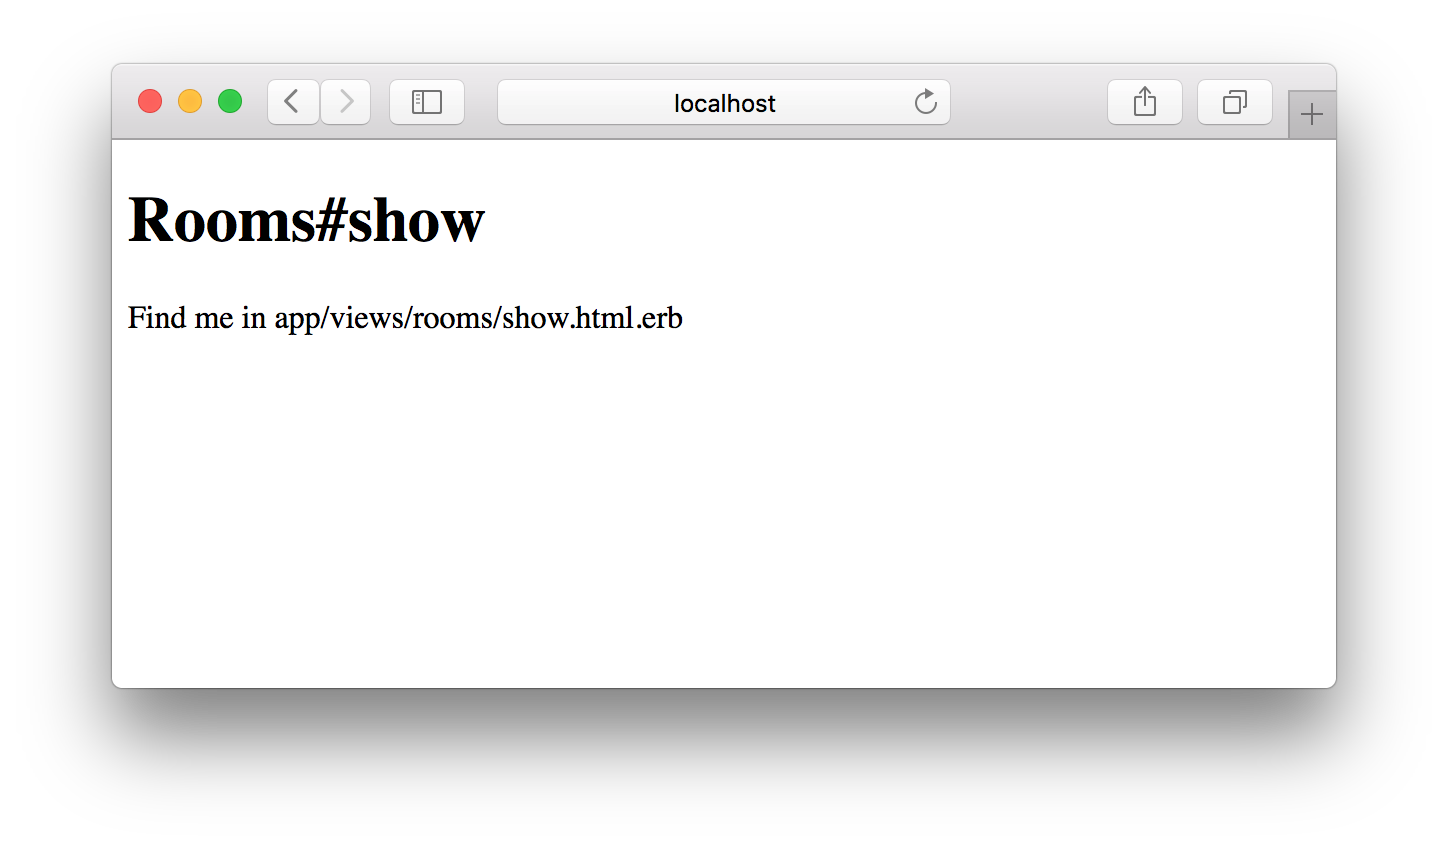
こんな画面が出ればOKです!
モデルの生成
$ rails g model message content:text
データベースに反映
$ rails db:migrate
こちらも、 Rails5 からの変更点のひとつです。
今までは、migrateのコマンドが rake でしたが、 rails に変更されています。
app/controllers/rooms_controller.rb を修正
 class RoomsController < ApplicationController
  def show
    @messages = Message.all
  end
end
チャットルームのViewディレクトリ作成
$ mkdir app/views/messages/
app/views/messages/_message.html.erb を作成
<div class="message">
  <p><%= message.content %></p>
</div>
app/views/rooms/show.html.erb を編集
<h1>Chat room</h1>

<div id="messages">
  <%= render @messages %>
</div>
テストデータ登録
rails console
>>  Message.create! content: 'Hello world!'
>>  exit
サーバを起動させて画面の確認
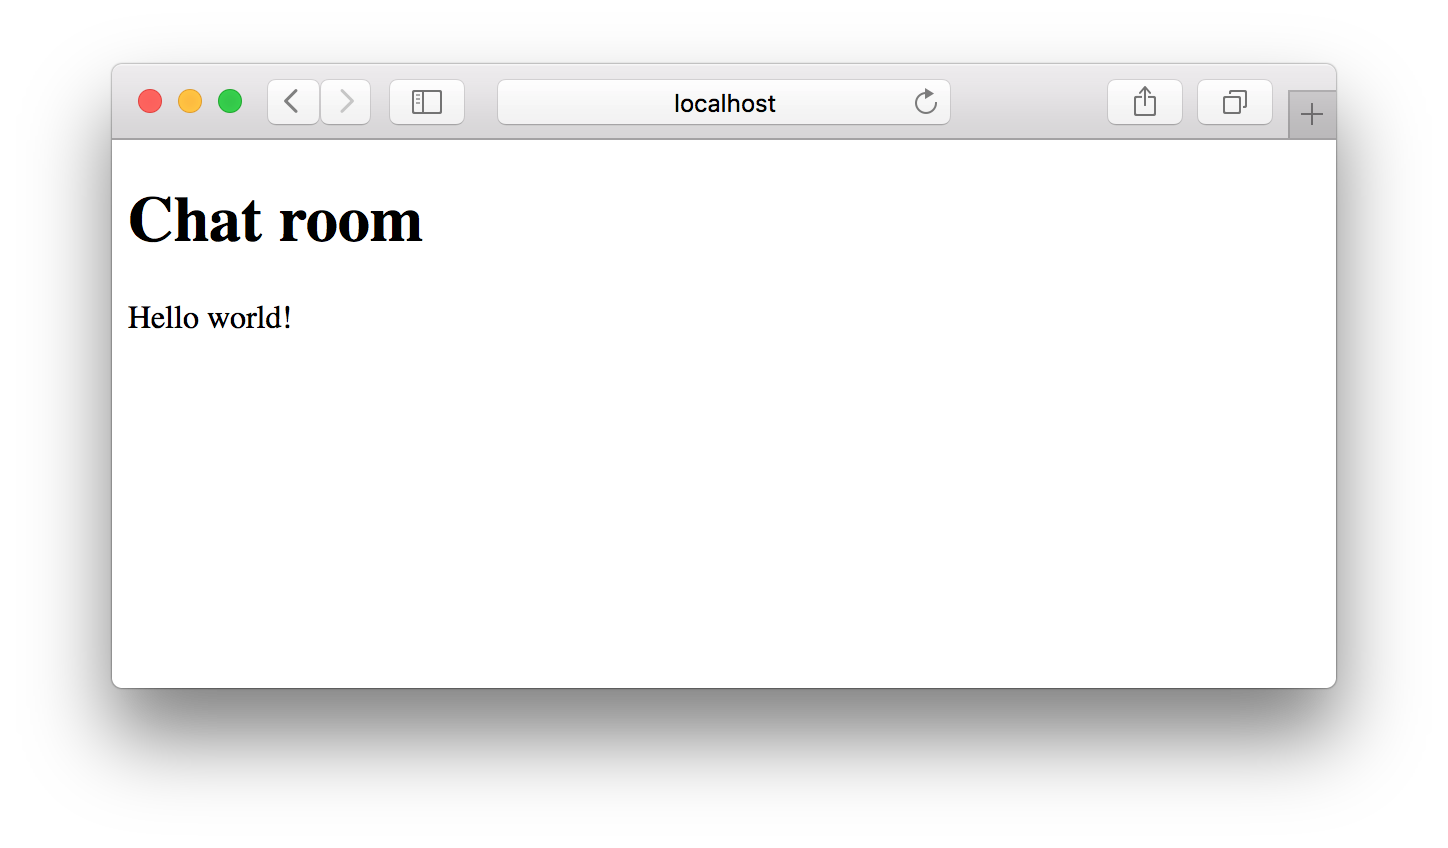
こんな画面が出力されたらOK!
チャンネルを作成
rails g channel room speak
Running via Spring preloader in process 46356
      create  app/channels/room_channel.rb
   identical  app/assets/javascripts/cable.js
      create  app/assets/javascripts/channels/room.coffee
Bata2までと RC1 から、チャンネル作成時に出力されるファイルが違いますが、気にせず前に進みましょう。
出力された app/channels/room_channel.rb を確認
# Be sure to restart your server when you modify this file. Action Cable runs in a loop that does not support auto reloading.
class RoomChannel < ApplicationCable::Channel
  def subscribed
    # stream_from "some_channel"
  end

  def unsubscribed
    # Any cleanup needed when channel is unsubscribed
  end

  def speak
  end
end
こちらは、サーバサイドの処理を行なうチャンネルです。
出力された app/assets/javascripts/channels/room.coffee を確認
App.room = App.cable.subscriptions.create "RoomChannel",
  connected: ->
    # Called when the subscription is ready for use on the server

  disconnected: ->
    # Called when the subscription has been terminated by the server

  received: (data) ->
    # Called when there's incoming data on the websocket for this channel

  speak: ->
    @perform 'speak'
こちらは、クライアントサイドの処理を行なうチャンネルです。
RC1からは設定不要 config/routes.rb
Rails.application.routes.draw do
  root to: 'rooms#show'

  # For details on the DSL available within this file, see http://guides.rubyonrails.org/routing.html
end
Bata2までは、必要だった設定は、RC1からは不要なのでこのままでOK!
出力された app/assets/javascripts/cable.js を確認
// Action Cable provides the framework to deal with WebSockets in Rails.
// You can generate new channels where WebSocket features live using the rails generate channel command.
//
//= require action_cable
//= require_self
//= require_tree ./channels

(function() {
  this.App || (this.App = {});

  App.cable = ActionCable.createConsumer();

}).call(this);
このファイルも、出力されたままで、前に進んで大丈夫です。
この状態で、WEBサーバを起動し、ブラウザのWebコンソールに App.room.speak() を入力します。
サーバログに、下記が出力されば通信されています。
RoomChannel#speak
app/assets/javascripts/channels/room.coffee を編集
App.room = App.cable.subscriptions.create "RoomChannel",
  connected: ->
    # Called when the subscription is ready for use on the server

  disconnected: ->
    # Called when the subscription has been terminated by the server

  received: (data) ->
    # Called when there's incoming data on the websocket for this channel

  speak: (message) ->
    @perform 'speak', message: message
サーバサイドのチャンネル、 speak にメッセージを送信する speak メソッドを用意します。
app/channels/room_channel.rb を編集
# Be sure to restart your server when you modify this file. Action Cable runs in a loop that does not support auto reloading.
class RoomChannel < ApplicationCable::Channel
  def subscribed
    stream_from "room_channel"
  end

  def unsubscribed
    # Any cleanup needed when channel is unsubscribed
  end

  def speak(data)
    Message.create! content: data['message']
  end
end
サーバサイドのチャンネルでは、クライアントサイドから送信されたメッセージを受信する speak を用意します。
speak の処理では、受け取ったメッセージを、 Message モデルに保存しています。
ここで注意すべきは、 speak メソッドの修正の他に、 subscribed メソッドも修正を忘れないようにしましょう。
# stream_from "some_channel"

  ↓ 下記のように修正

stream_from "room_channel"
app/views/rooms/show.html.erb を修正
<h1>Chat room</h1>

<div id="messages">
  <%= render @messages %>
</div>

<form>
  <label>Say something:</label><br>
  <input type="text" data-behavior="room_speaker">
</form>
app/models/message.rb を修正
class Message < ApplicationRecord
  after_create_commit { MessageBroadcastJob.perform_later self }
end
非同期でブロードキャストするジョブを生成
$ rails g job MessageBroadcast
Running via Spring preloader in process 49063
      invoke  test_unit
      create    test/jobs/message_broadcast_job_test.rb
      create  app/jobs/message_broadcast_job.rb
app/jobs/message_broadcast_job.rb を編集
class MessageBroadcastJob < ApplicationJob
  queue_as :default

  def perform(message)
    ActionCable.server.broadcast 'room_channel', message: render_message(message)
  end

  private
    def render_message(message)
      ApplicationController.renderer.render(partial: 'messages/message', locals: { message: message })
    end
end
ActionCable.server.broadcastが、サーバサイドのroom_channelで登録されたコメントを、クライアントにブロードキャストしています。
app/assets/javascripts/channels/room.coffee を修正
App.room = App.cable.subscriptions.create "RoomChannel",
  connected: ->
    # Called when the subscription is ready for use on the server

  disconnected: ->
    # Called when the subscription has been terminated by the server

  received: (data) ->
    $('#messages').append data['message']

  speak: (message) ->
    @perform 'speak', message: message

$(document).on 'keypress', '[data-behavior~=room_speaker]', (event) ->
  if event.keyCode is 13 # return = send
    App.room.speak event.target.value
    event.target.value = ''
    event.preventDefault()
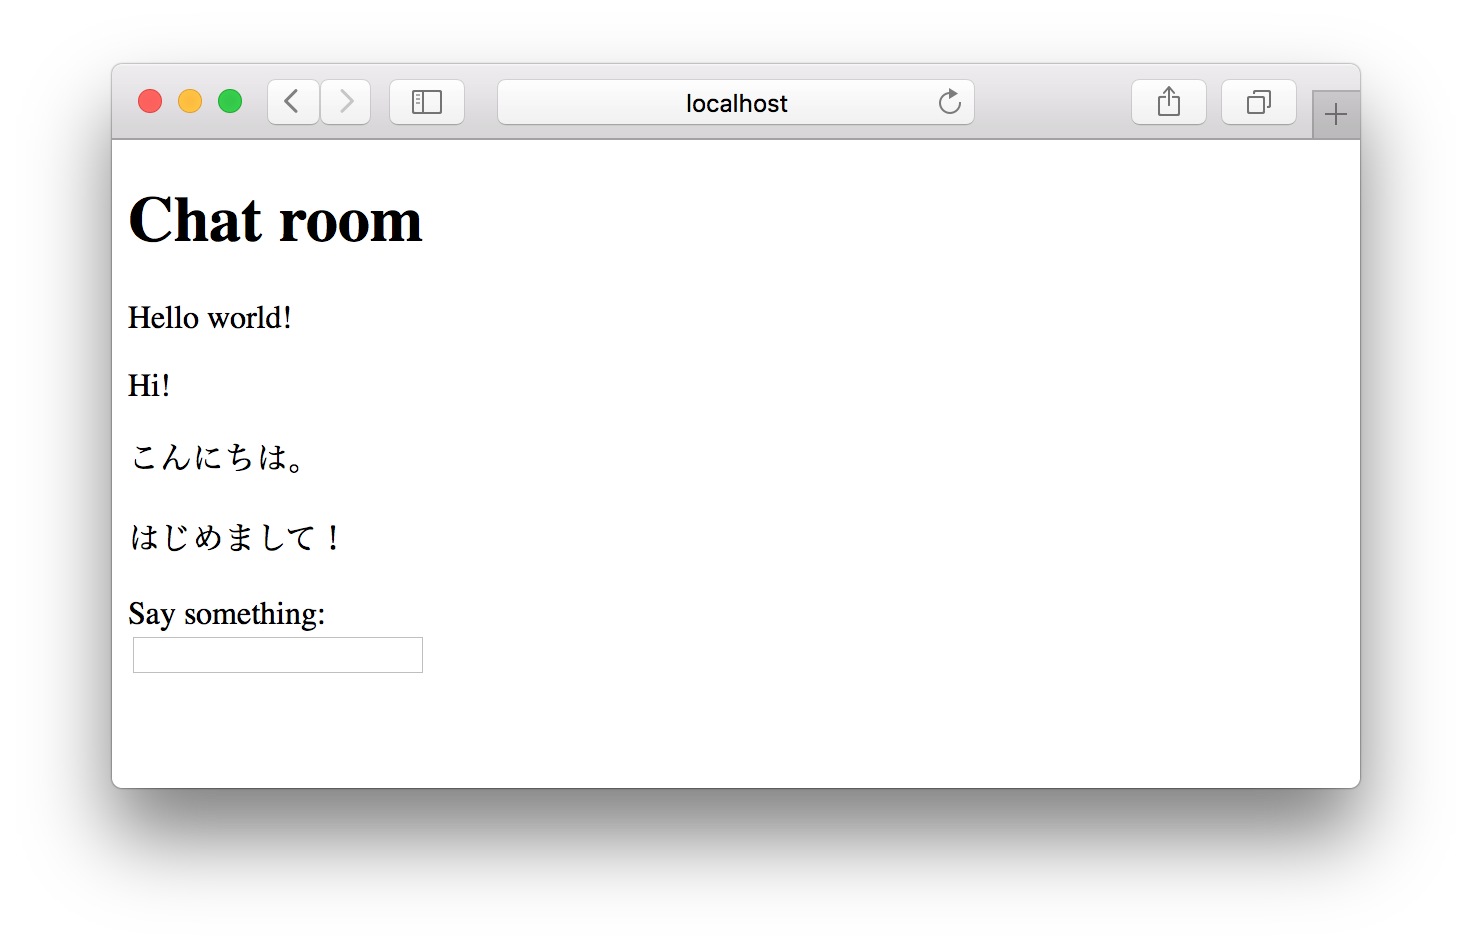
サーバを起動し、入力フィールドに文字を入力後に enter すると画面に反映されれば成功です!

Ruby on Rails が学べるオンライン講座
オンライン講座なら、好きな場所で好きな時間に学習できます。Ruby on Rails も学ぶことができるので、ぜひ、活用しましょう。
Udemy(ユーデミー)
オンライン動画学習サイトで、Ruby on Rails講座やRuby講座もあります。頻繁に講座のバーゲンセールスが実施されているので、価格をチェックしましょう!一度、購入した動画は繰り返し使えますので何度でも学習可!
世界最大級のオンライン学習サイトUdemy![]()
CodeCamp(コードキャンプ)

現役のRubyエンジニアによる個別指導で、Webサイト制作を基礎から習得できます。無料体験レッスンが受講できるので、気軽に受講体験ができます。
Ruby と Ruby on Railsマスターコース